Tuesday, November 30, 2010

Two 4 Tuesday -- Unscripted sketch # 83 with Sara.

Two for Tuesday features 2 projects that are similar in either color, theme, layout or embellishment but... with a different twist!
 
 Hi everyone,

Today I got for you a double scrapbook layout, base on the sketch # 83 from unscripted sketches and almost CASEd on linda's creation. Here's the sketch:


And here's my creation:
 and my second one since I do prefer 2-pages layout in my scrapbooks.
 Here you have both of them together.
 I used a retired simply scrappin' kit, called Sunny day, I only added some jewel, everything is from the kit, so cool. The chipboard letters where made with simple alphabet dies and my big shot.
 For those you can read french, my journaling :


Have a nice stampin' day !!!

Monday, November 29, 2010

Quickie Mini "Cyber" Monday -- Deer Friends

Quickie Mini Mondays feature a 10 minute-or-less project -- something fast, fun and easy to reproduce and mass produce.


Hi everyone,

Before I dive into today's project, I'd like to remind everyone that you still have until 11:59 p.m. tonight to take advantage of our store discounts. You can buy our tutorials for reduced prices, ranging from 15% to 50% !!! So don't wait and go to our store here.

Alright, so on to today's card. It's funny now that I'm looking at it, the card is almost entirely made with Stampin' Up!'s retired products! From the stamp sets to the DSP, even the ribbon! And it always makes me feel good to use up my stash of goodies. Oh, plus I totally CASEd Gen !!!

There are just 3 differences from her original designs: I lowered the ribbon to go underneath the circle, as opposed to over the reindeer, I added faux stitching in the circle and I used a larger card base. Actually, I didn't even have to emboss the reindeer from the retired Deer Friends stamp set -- I found it in my leftover stash as well! It was almost as if everything was falling into my hands by magic.


The nose is a bunch of tiny red micro beads over a Mini Glue Dots. Gotta love that! All in all, this card is really simple to pull off. So give your retired stash a look-see today and create!

Have a nice stampin' day !!!

Friday, November 26, 2010

Sparkly Fun Friday -- Less Sparkles, More Fun... and a Sale!


Sparkly Fun Fridays features a sparkly or glittery project using shimmer paints, embossing powders, glitters, rhinestones... anything shiny to welcome the weekend in a fun way!!!

Hi everyone,

I wasn't in the mood for sparkles or glitter today... can you believe that?! Plus, I had this idea roaming around in my head so I thought you wouldn't mind if I strayed from the usual Friday post. And get this: I sewed!!! Yes!!! Me! The one that has a love/hate relationship with her sewing machine. I took my courage and dug out my Sew Mini. Up until now, I was very happy to leave all that sewing to my partner in crime, Gen. And my mind is not usually geared towards "haute couture" projects but for some strange reason, this idea came to me during one of my late nights working.

So I dug out Card à la Carte's Cute and Cubby Tutorial (yes, I needed to follow my own instructions!) and modified it to add a cover.


Please don't look at it my sewing too closely... it is far from being perfect. But I didn't do too much of a bad job considering that I don't sew. So, as I was saying, I added a cover because I wanted my Cute and Cubby to look like a present. I also added a satin ribbon to form a bow over the cover and made only one pocket adorned with a flower.

What's inside, you ask? That's what got me thinking in the first place.


Coasters! Made with remnants of the fabric and the Scallop Circles #2 Bigz Die for the Big Shot!!! I also sandwiched some batting in between the two layers of fabric ... actually, I didn't have any batting so I used Swiffer Refills - HAHAHA! Talk about being creative! Then I just over-stitched all the layers.


What do you think?! Not bad for an inexperienced sewer, right?! And if I can do this... EVERYONE can do it!

Then I went a step further and thought to add a pocke to my Cute and Cubby and where you can put glass rings. You know, those things that lets you keep track of your glass when you're at a party so you don't accidently drink out of other people's beverage? I made mine out of a stamped image from  Stampin' Up!'s Just Believe Stamp Set and shrink plastic. I stamped with Black StazOn and colored them all a different color with permanent markers.


So all in all, this makes for a VERY SPECIAL GIFT for that very special someone at Christmas. I also added a some cocktail napkins in a coordinating color to complete the whole thing. 

Oh, and that cute fabric is the Candy Cane Christmas from the Holidays Mini Catalog from Stampin' Up! 

2nd Oh... Plus, it's on special right now: 6.25$ instead of 12.50$ -- that's 50% off!!! Win-win! Just send me an email if you'd like to order the fabric.


On the front pocket, I added a fabric flower made with the same Scallop Circles Die #2. Fun, fun, fun!!!

I hope this idea inspires you to create Christmas gifts. After all, there's nothing that says "I love you" more than an handmade gift! If you're interested in the Cute and Cubby Tutorial, now's the time to grab it. All of Card à la Carte's tutorials are discounted until Monday night, 11:59 p.m. Eastern Time.


Have a happy Black Friday everyone !!!

Thursday, November 25, 2010

Sweet Treat Thursday -- So simple pillow

Sweet Treat Thursdays are all about food -- our other favorite topic -- and features ways to embellish/wrap/present something edible. CAUTION: May be hazardous to your waistline!


Hi everyone,

Meet today's projet, my most simple and fast pillow box yet!!!

I love that pillow box die, it makes it so easy to this project 3 simple step and you're done:

1- Die cut Pillow box out of pattern paper
2- Assemble Pillow Box
3- Tie Bow

It doesn't get easier then that,.


Oups I forgot the most important step:

4) Fill with your favorite small treat and share!!!


Have a nice stampin' day !!!

Wednesday, November 24, 2010

Whatever Challenge Wednesday -- CPS 194

Whatever Challenge Wednesdays features a challenge from the blogosphere, chosen randomly.


Hi everyone,

Today I decided to play with CPS sketch challenge #194, here's the sketch:


Here's what I came up with:


I had so much fun I made multiples:


I colored the beaver with my prismacolor and OMS, I also used liquid appliqué (aka puff paint) to create more texture, what a fun product.


Have a nice stampin' day !!!

Tuesday, November 23, 2010

Two 4 Tuesday with Play Date Cafe


Two for Tuesday features 2 projects that are similar in either color, theme, layout or embellishment but... with a different twist!


Hi everyone,

Here's a fun project I made for someone while playing with the PlayDate Cafe Challenge #56. We had to use the colors green, turquoise and red.  So I used Poppy Parade, Old Olive and Tempting Turquoise from Stampin' Up!


The top project is a magnetic board that you can keep on your fridge with a little calendar and a post-it pad with pen to jot dot notes. I also made a little card to go with that. It is meant to be offered as a Christmas gift to friends.


Have a nice stampin' day !!!

Monday, November 22, 2010

Quickie Mini Monday -- Jeweled Snowflake !

Quickie Mini Mondays feature a 10 minute-or-less project -- something fast, fun and easy to reproduce and mass produce.


Hi everyone,
Happy monday, usually I'm not so fond of monday's but today is special, I've got a date with CeeCee my partner in crime and our dear friend from Switzerland Marie-Pierre. Since I have to work my real day job, we're having a late dinner at our (CeeCee and I) favorite place tonight. We have sso much catching up to do, I just can't wait to see them...
Okay back to business... for today's quick card I decided to play with color create challenge 58. The color to use where sea foam green, robin egg blue and cream, I also went for the extra option which was a WINTER theme project.
Here's what I came up with simple and cute 3X3s :

Since it was so easy and also because when I die-cutted the snowflake I had multiples, I decided to use them all right now, I'll figure out some kind of cute container to make a nice present.


Have a nice stampin' day !!!

Friday, November 19, 2010

Sparkly Fun Friday -- flip flop birthday card

Sparkly Fun Fridays features a sparkly or glittery project using shimmer paints, embossing powders, glitters, rhinestones... anything shiny to welcome the weekend in a fun way!!!


Hi everyone,

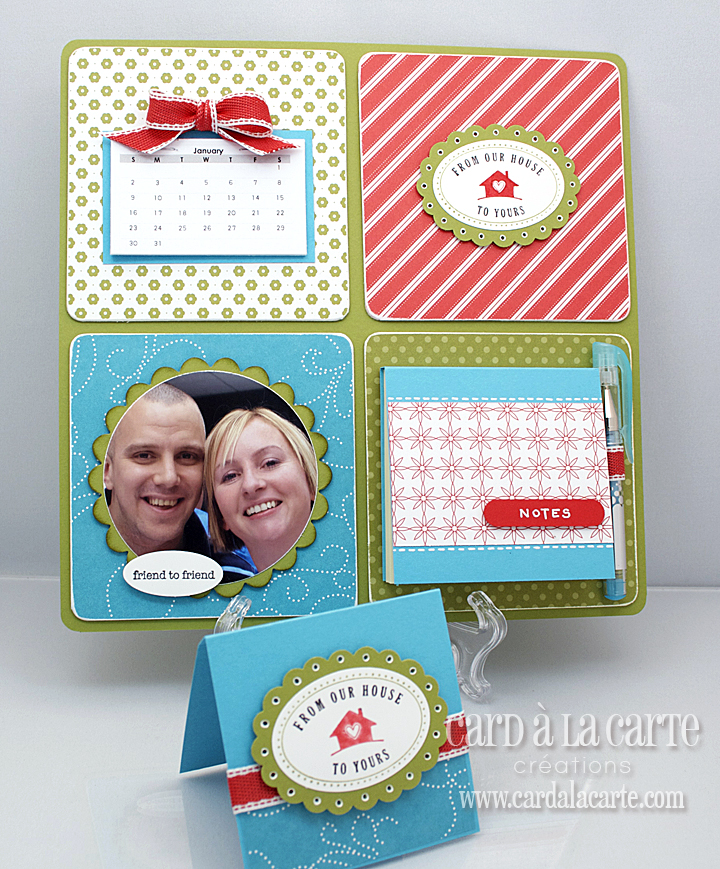
Today's project, is for a friend that needed a big card for a 30th man birthday, the card needed to have enought room inside for everybody to write birthday wishes. So I took a flip flop album (found on the stampin' up! website a couple of years ago) that I usually use for a mini scrapbooking project and replaced the photos with spaces to write messages.


Not always easy to create card/scrapbooks for men, but according to my husband I succeeded!! Hope the birthday guy likes it too...

Sorry there's a lot of photo, I couldn't capture the whole album in my photo box so you have it partially open each time.


I added little birthday details with a retired stamp set.


Here's a close-up of the inside of one of the 3 sections with their door, a little more room there for the people's wishes to the birthday boy...

I just couldn't stop myself I HAD to have some glittery icing on these cupcakes.

I simply added a little touch of white pen to these die-cut letters to give them more depht.

Here's the bling close-up


Have a nice stampin' day !!!